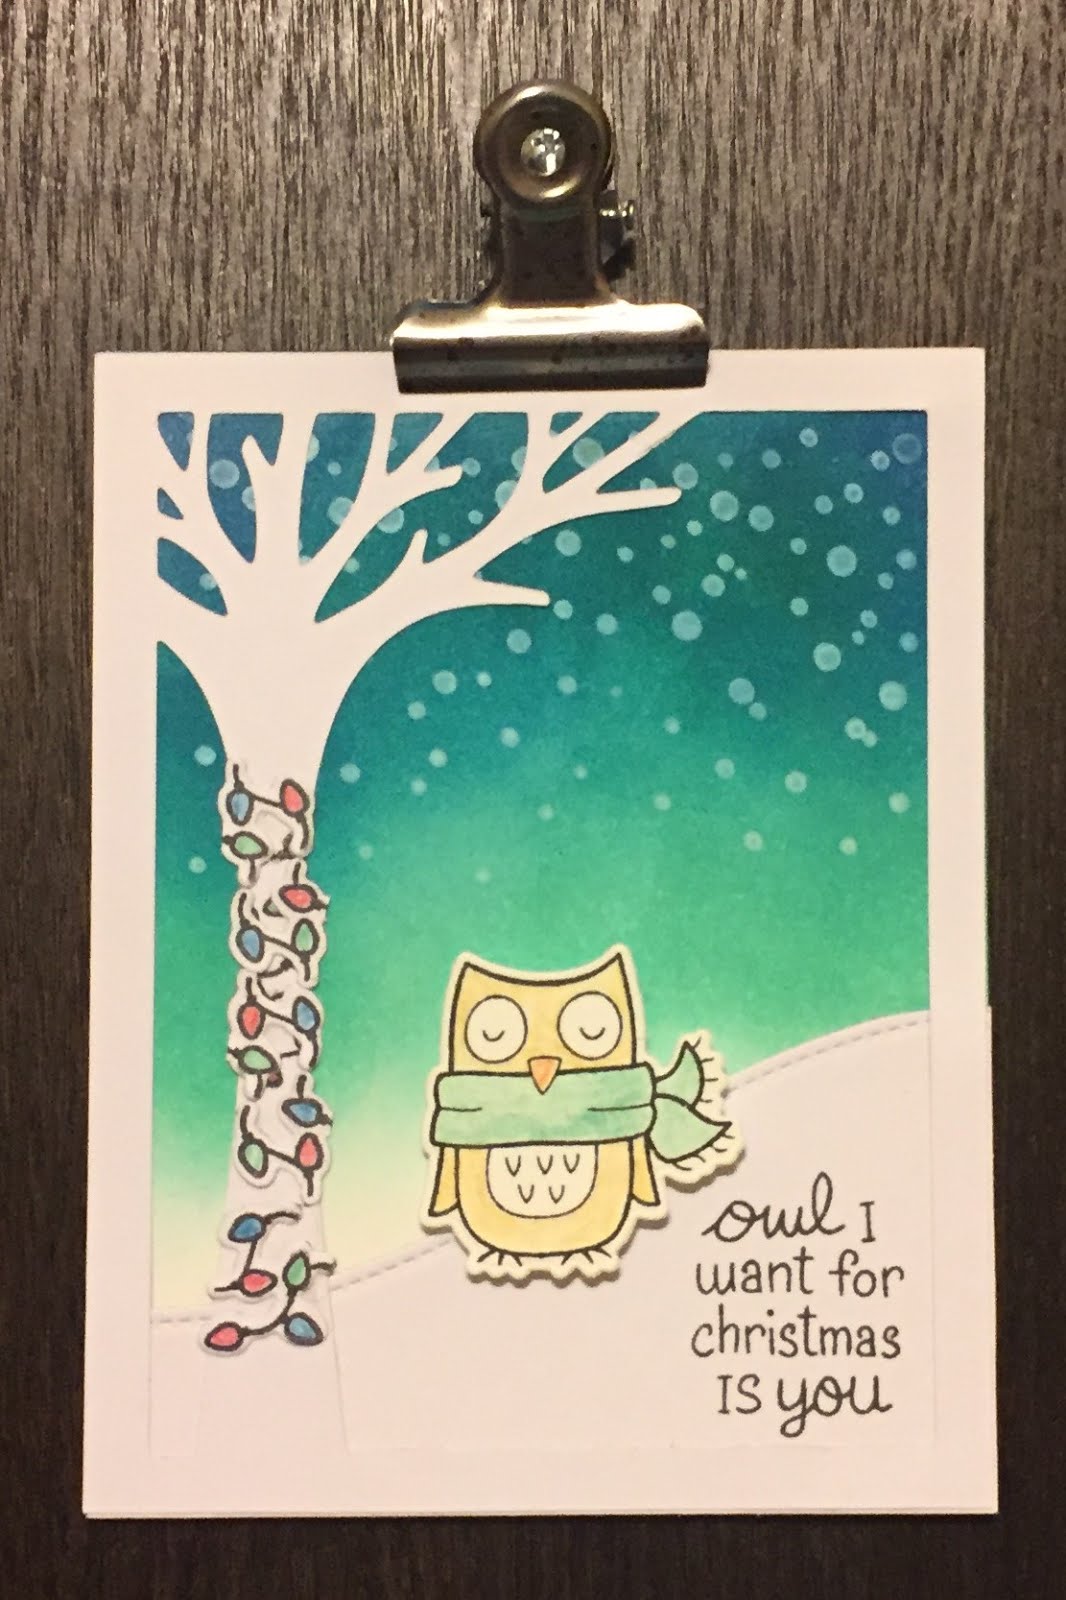
For today's card, I wanted to create a vibrant sky background, and have the rest of the card be white so the background really pops. I started by preparing the Leafy Tree Backdrop and Stitched Hillside. I have a bunch of 12x12 patterned paper packs that are one-sided, with patterns I don't really plan to ever use, so I actually cut these large papers down so they could go through my Evolution tool and could be used with die cuts, using the opposite side. I wanted them to be bright white, and the non-patterned side was perfect!
In Colorado where I grew up (and still consider my home), people often wrap the beautiful white aspen tree trunks with lights, so I wanted to create a similar effect here, only wrapping the base of these trees. To create the strings of lights, I stamped the lights from the Lawn Fawn Happy Howlidays set on watercolor paper, and cut them out using the coordinating Lawn Cuts. I liked that the die-cut lights had a slightly different white than the tree, as it helped them stand out a bit more. Because these lights are setup for going around the dog images from the set, I cut them apart into two-light strands and three-light strands, so they'd look more natural going around the base of the trees. I ran them through my mini xyron machine to add the adhesive, which is the perfect tool for adding adhesive to small and complicated die cut images. Once I had the trees wrapped, I colored in the lights using distress inks and water. This helped me ensure I had a relatively even distribution of color, and didn't end up with multiple lights of the same color too close together.
On the cover of my Paper Source A2 Superfine White folded card, I used a blending tool to add distress inks, starting from the top with evergreen bough, and blending it down the page, before adding in cracked pistachio and blending down further along the page. I also added Pine Needles ink towards the top of the page, and a little of the I decided on the background colors by coordinating them with the scarf I used on the Lawn Fawn Winter Owl die-cut image. I kept positioning my card elements on top of the distress ink background in order to determine how much more I needed to add/how far down I wanted the ink to go on the page, which proved to be important and helpful!
Once I was satisfied with the color of the background, I finished it by stamping the falling snow from the Lawn Fawn Snow Cool set with Frost White pigment ink. I added this using the MISTI tool, which allowed me to double-stamp the snow in order to get the look I wanted. I then adhered the hillside and the tree to the card base with my tape runner, stamped the sentiment with Memento Tuxedo Black Ink, and finished the card by attaching my owl with foam squares for dimension.
This post is being submitted into the
Lawnscaping Challenge #143: Let it Snow!